
 Create
 Schedule
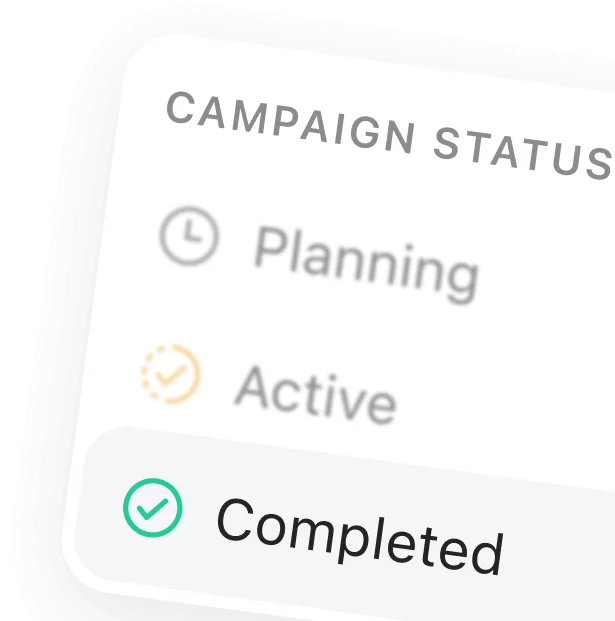
 Plan
Plan Collaborate
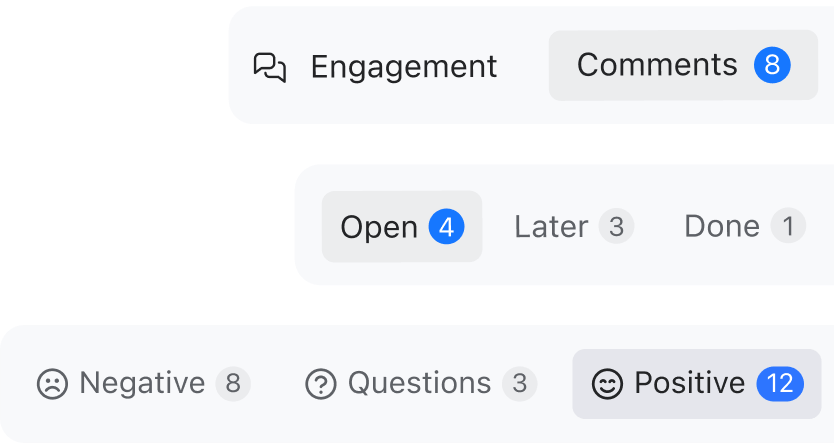
 Analyze
 Approve
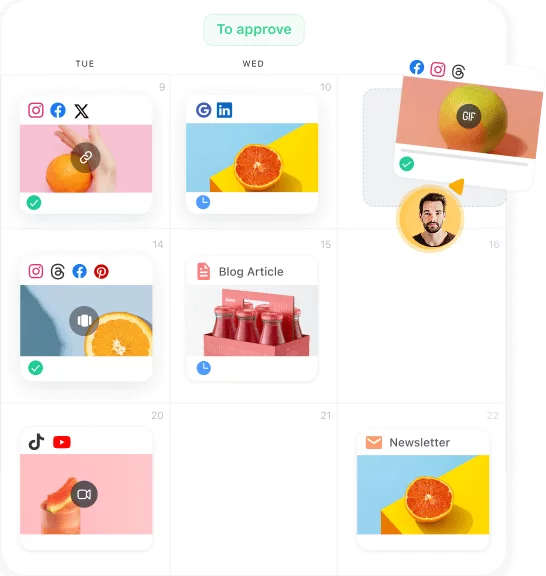
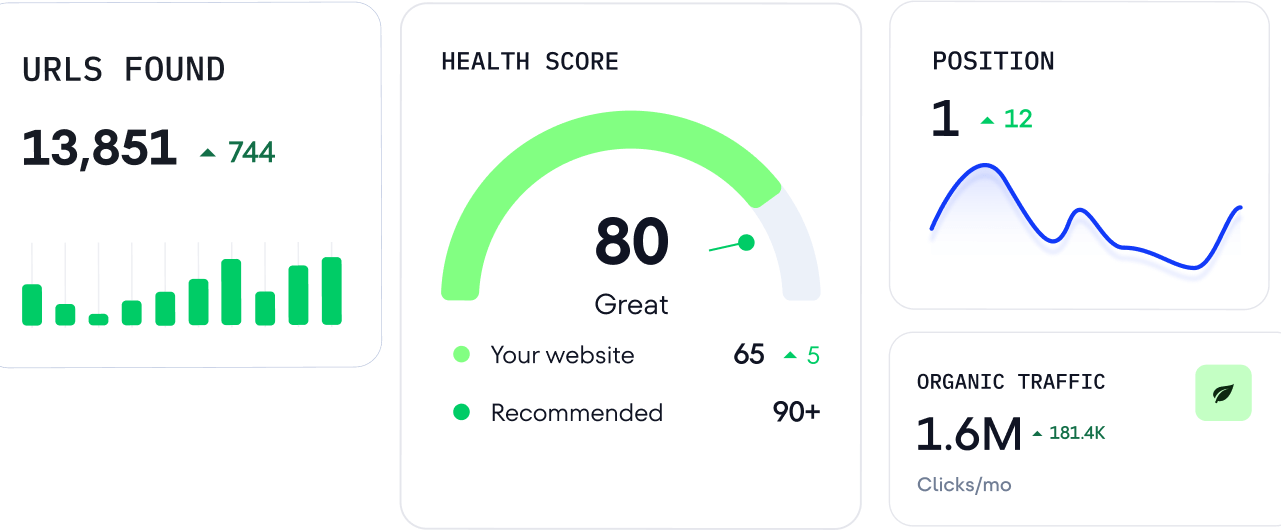
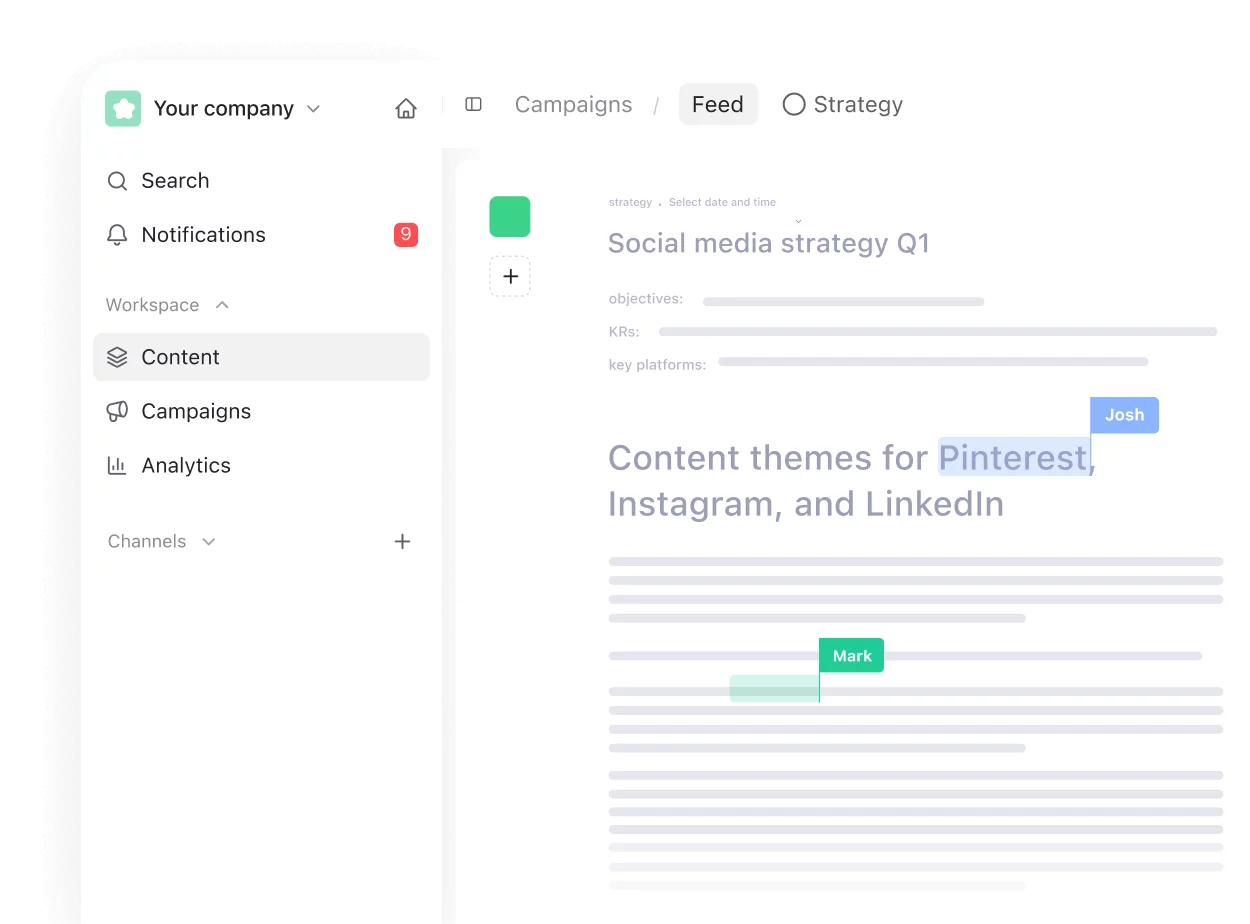
Social media management for agencies is high-stakes work. You have to keep every client's brand consistent, coordinate approvals across multiple stakeholders, and publish a high volume of content across several channels. To do that reliably, agencies need more than a...


 Feed
Feed Calendar
 Grid
Grid List
List


 So easy it