Agency drafting eats into the hours your team needs for review and client sign-off. That's where using Claude for social media changes the equation: initial captions and platform variants become Claude's layer, and your team realigns toward the work that requires...
Redesign For multi-location brands
all your locations, one content flow
For multi-brand companies
content collaboration at scale
For agencies
impress your clients and take on more
“The team loved it from the start. Planable helps us overview the entire marketing efforts.“
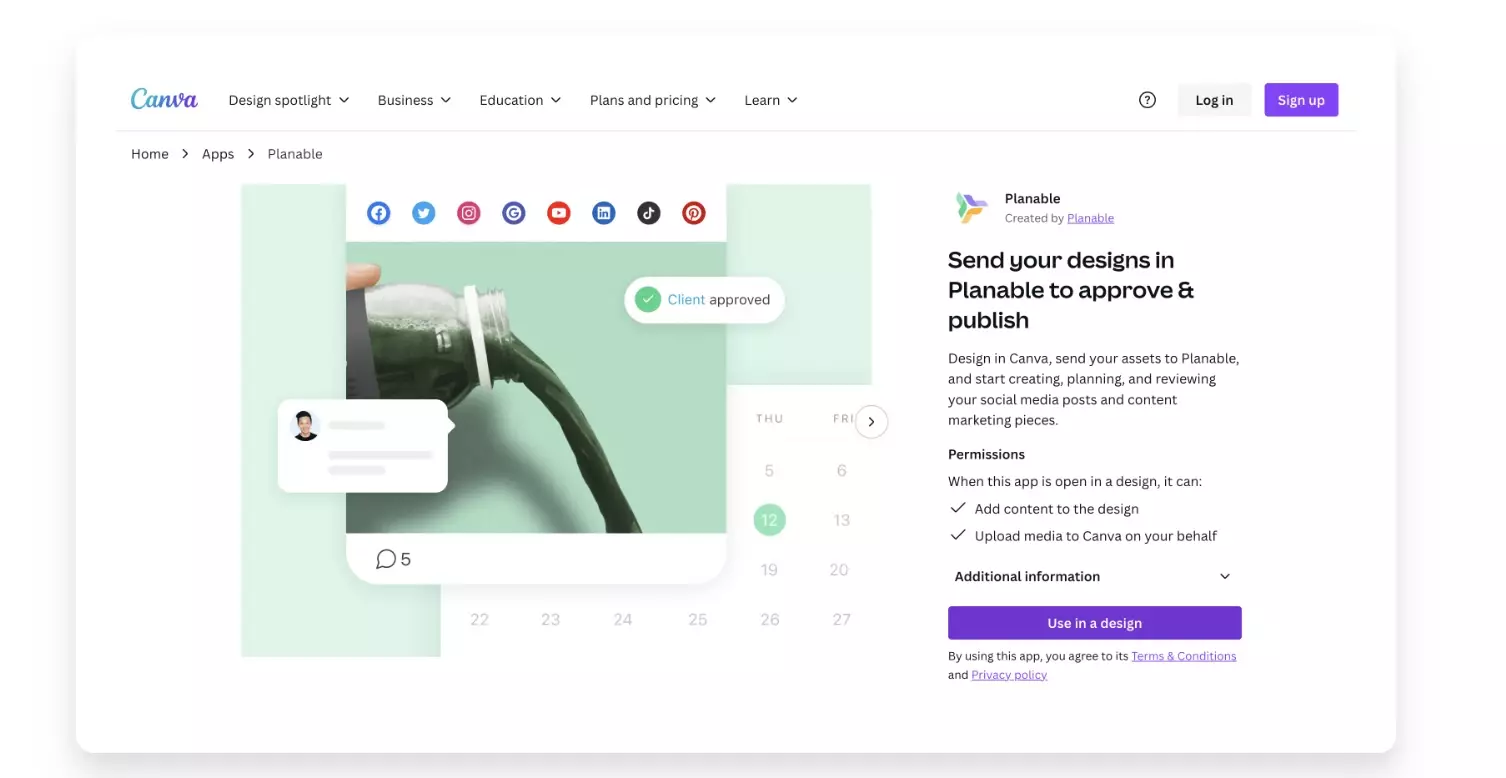
Most “design to publish” delays happen in the handoff: exporting, uploading to folders, re-uploading to a scheduler, and tracking the right version for review. The Planable x Canva integration removes that file-transfer loop by moving assets directly between Canva and your Planable workspace.
Planable’s Canva app lets you export designs from Canva into Planable and import assets from Planable back into Canva for edits, without manual downloads or re-uploads.
What the integration includes
Two-directional workflow: Canva → Planable and Planable → Canva
Works from inside Canva: Uses the Planable app in the Canva Apps Marketplace
Where files go in Planable: Exports land in Planable’s Media Library
Plan coverage: Available on all Planable plans at no extra cost
Setup effort: Connect your Canva and Planable accounts once (per user)
How it works
The integration runs inside Canva via the Planable app. You can move files in either direction depending on what you’re doing next: publishing in Planable or editing in Canva.
Export from Canva to Planable
Open your design in Canva.
Open the Planable app from Canva’s left sidebar (after connecting).
Choose Export to Planable.
Select the Planable workspace where you want the asset to land (if you have access to multiple).
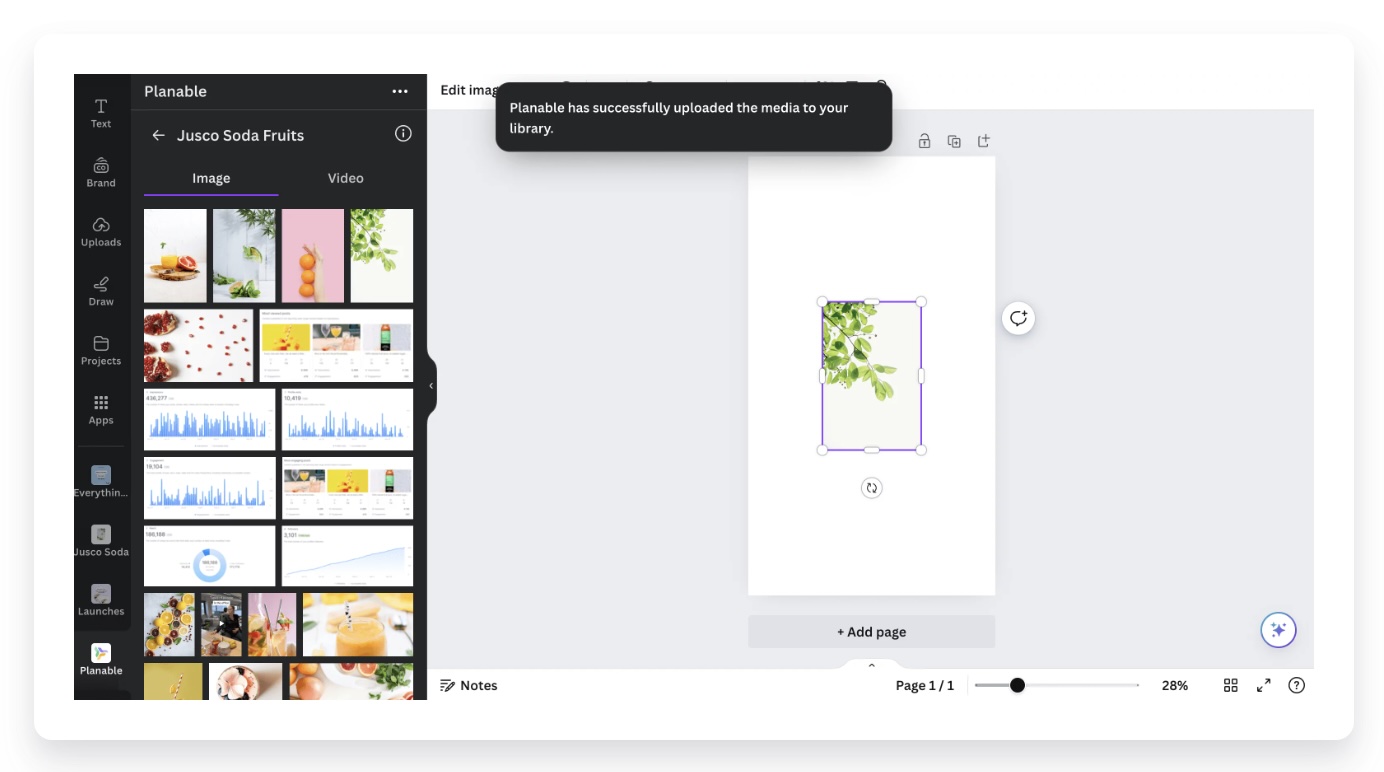
The file appears in Planable’s Media Library, marked with a Canva logo so the source is clear.
From the Media Library, the asset is ready to attach to posts, share for feedback, and send through approvals.
Import from Planable into Canva
In Canva, open the Planable app.
Choose Import.
Browse your Planable workspaces and select a file from the Media Library.
Edit the asset in Canva.
Export it back to Planable when you’re ready to use the updated version.
The full workflow, end to end
A typical design-to-publish flow with the integration looks like this:
Design in Canva: Create or update visuals using Canva’s editor.
Export to Planable: Send the finished asset directly into a Planable workspace.
Plan and review in Planable: Attach the asset to posts, collect feedback, and run approvals.
Publish from Planable: Schedule and publish to connected social channels.
With Planable x Canva, the asset stays in the tools your team already uses—without extra downloads, renaming, re-uploading, or “which file is final?” confusion.
How to set it up
Setup happens in Canva (per user), because the integration is powered by Canva’s app connection.
In Canva, open the Apps Marketplace and search for Planable.
Open any design and select Use in existing design or Use in new design.
Click Connect to link your Planable account.
The Planable app will appear in Canva’s left sidebar for future designs.
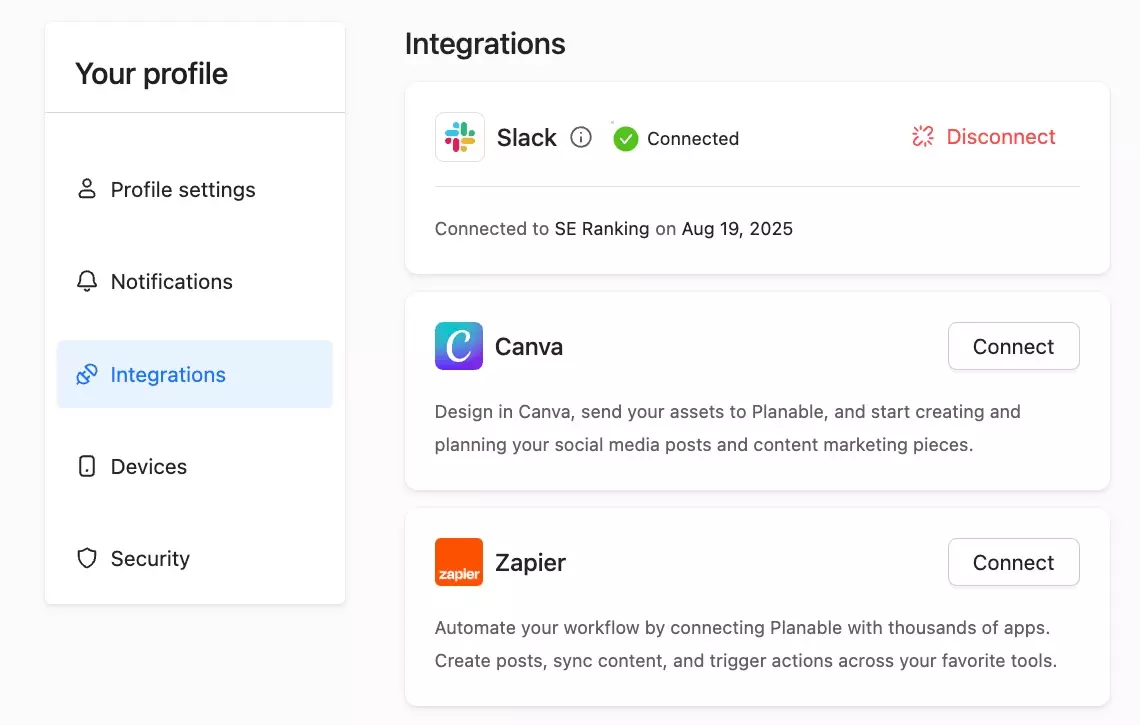
You can also view/manage connected integrations in Planable under Profile Settings > Integrations.
Availability and pricing
The Canva integration is included on all Planable plans at no extra cost.
The Planable app can be used with any Canva account (no paid Canva plan required).
FAQs
What does the Planable x Canva integration do?
It lets you export designs from Canva into Planable and import Planable Media Library assets into Canva for editing—without manual downloads or re-uploads.
Where do exported Canva assets appear in Planable?
Exported designs land in Planable’s Media Library and are marked with a Canva logo to show the origin.
Can I export to a specific Planable workspace?
Yes. During export, you can choose the workspace where the asset should be saved (if you have access to multiple).
Can I edit a Planable asset in Canva without downloading it first?
Yes. Use Import in the Planable app inside Canva to pull a Media Library file into Canva for editing.
Where do I set up the integration?
In Canva’s Apps Marketplace. Search for the Planable app and connect your Planable account. You can also view connected integrations in Planable under Settings > Integrations.
Is the Canva integration available on all plans?
Yes. It’s included with all Planable plans at no extra cost.
Do I need a paid Canva account to use this?
No. The Planable app can be connected and used with any Canva account.
As a senior product marketer, Monica leads product marketing campaigns, drives competitive intelligence initiatives, and contributes to Planable’s growth strategy through extensive user research and data analysis.